Assembly Instructions
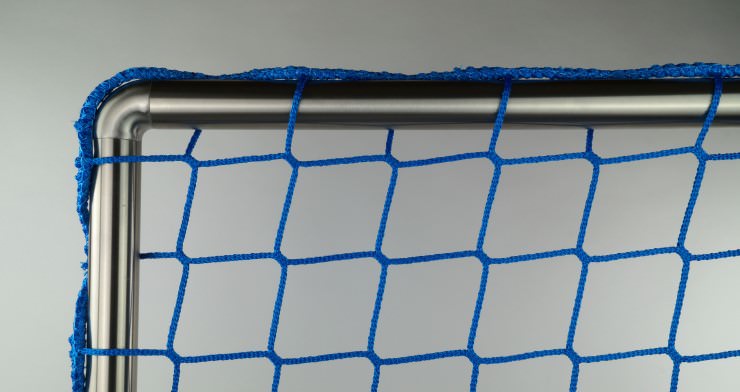
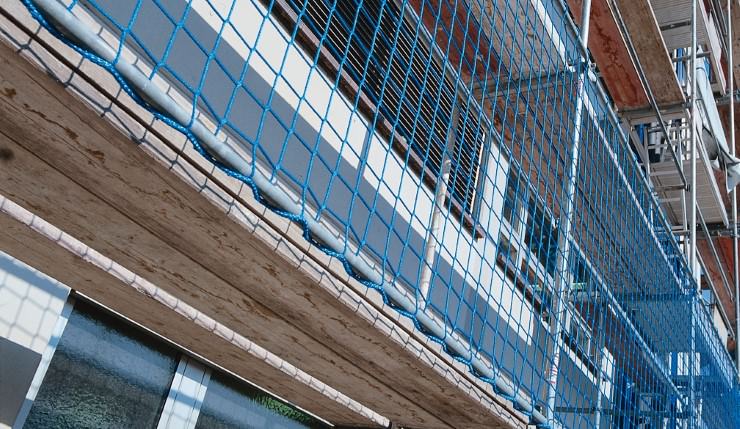
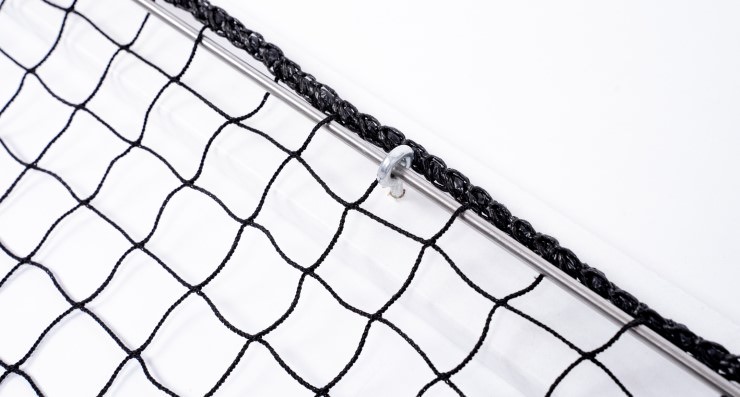
Depending on the local conditions, there are many ways to mount safety nets. On this page we intodruce you to popular and well-established types of mounting.
Table of Contents
1. Installation of Horizontally Spanned Safety Nets
- Personnel safety nets on buiding-sites
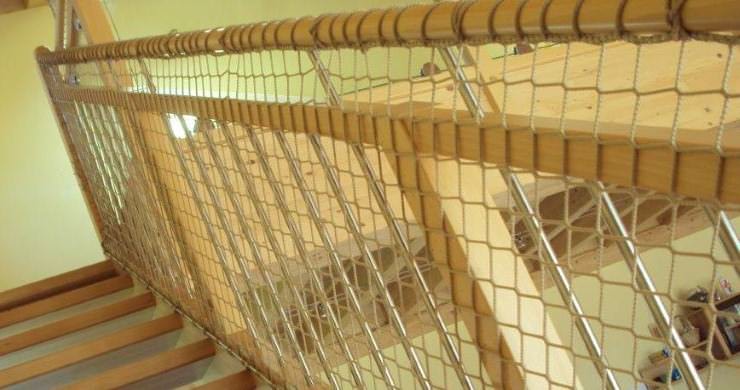
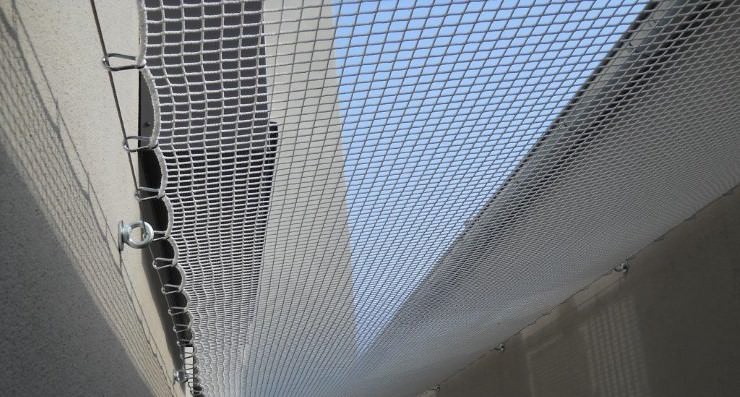
- Fall safety nets for stair wells
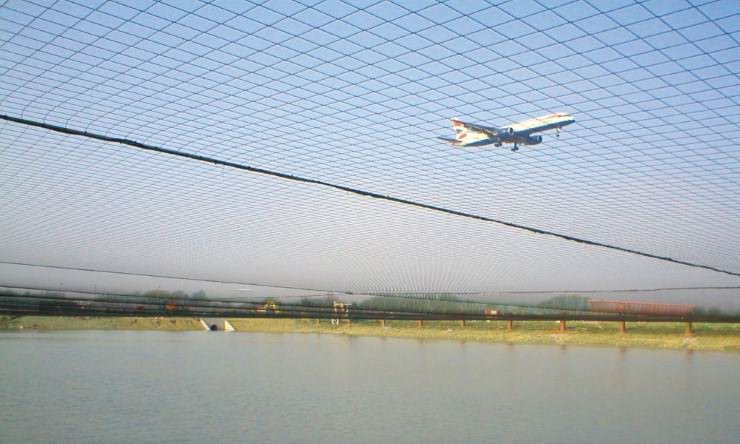
- Fall safety nets for ponds/pools
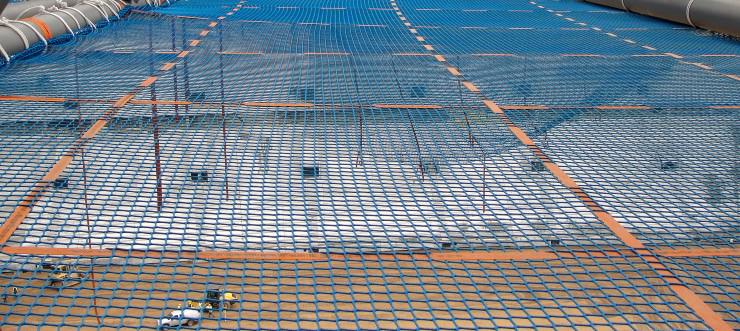
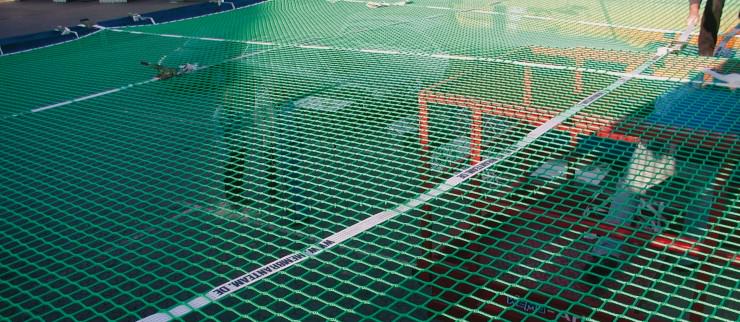
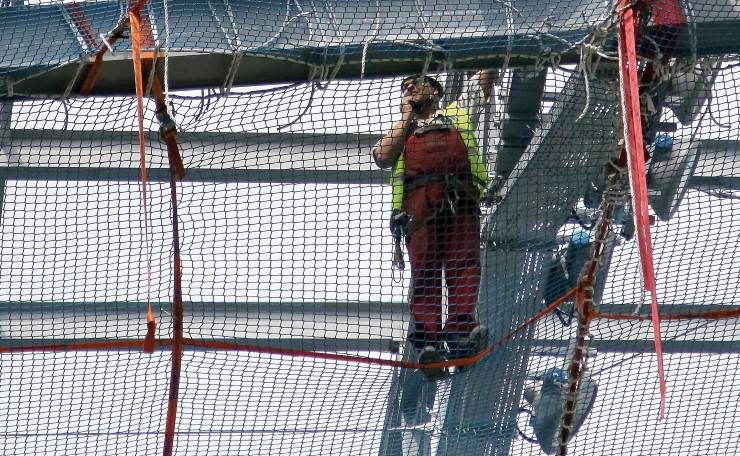
Building-site nets have to be anchored at stable, load-bearing points. For measuring each suspension point a characteristic load of at least 6 kN with an angle of 45° must be adopted. The suspension points must not be positioned more than 2.50 m apart. You will find further information under Building-Site Safety Netting Guidelines.
|
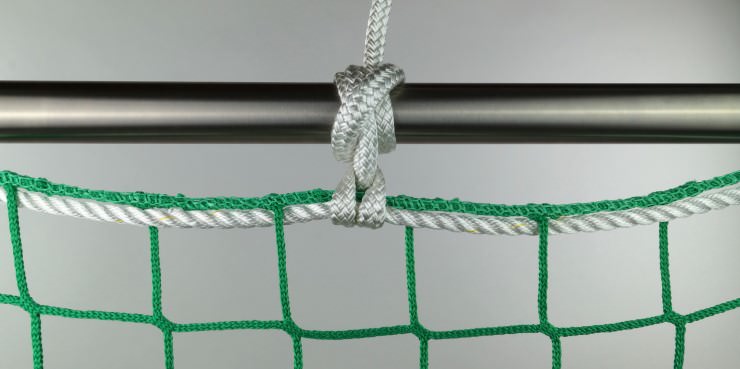
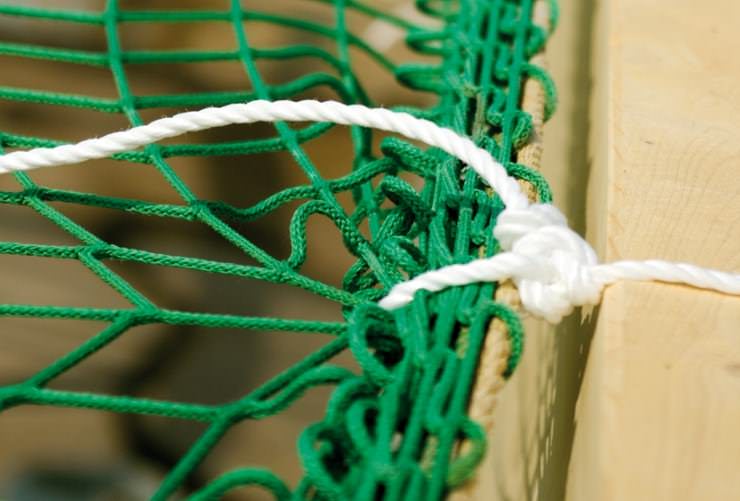
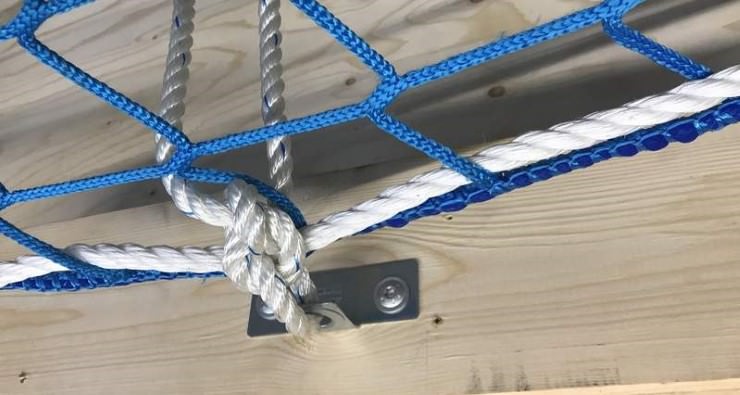
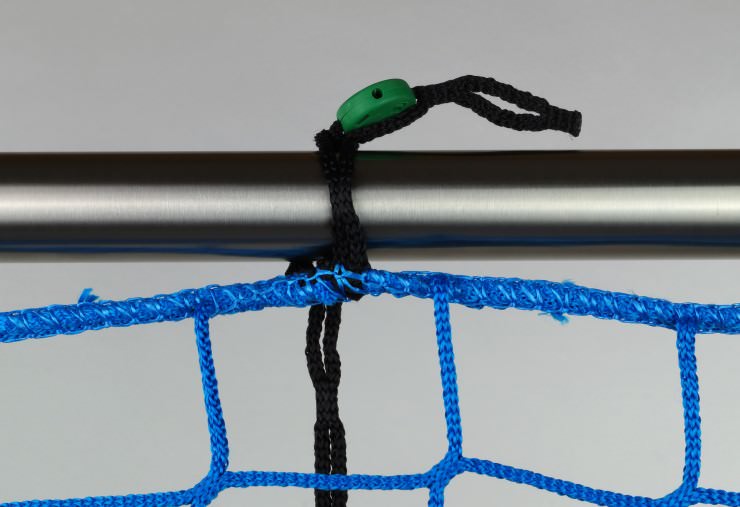
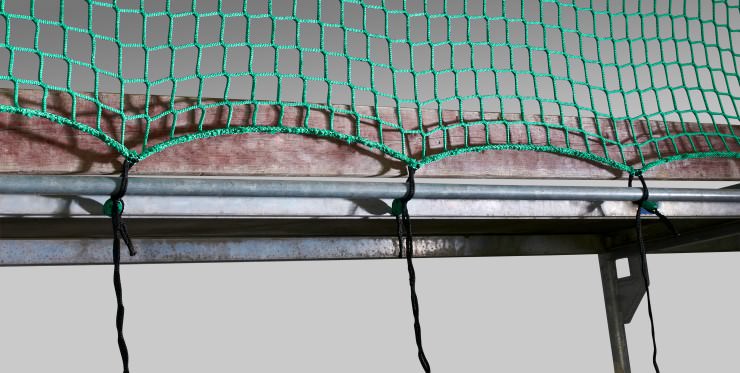
Suspension ropes are an approved anchorage system for construction safety nets in conformity with DIN EN 1263 and DGUV rule 101-011 (single-strand suspension). The suspension points must not be positioned more than 2.50 m apart. The side of the loop is affixed to the net. With the free end, the net is then knotted to the suspension point. |
Recommended interval: 2.50 m maximum |
Suitable items: |
|
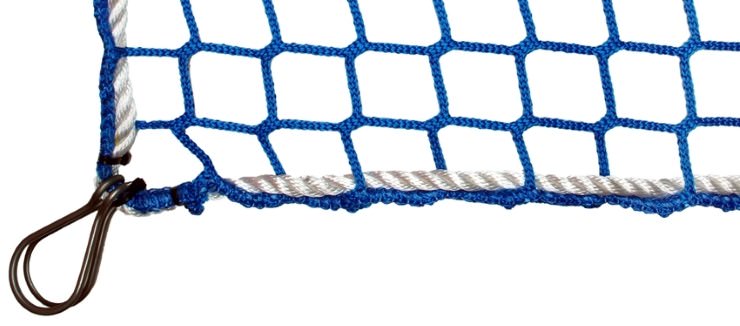
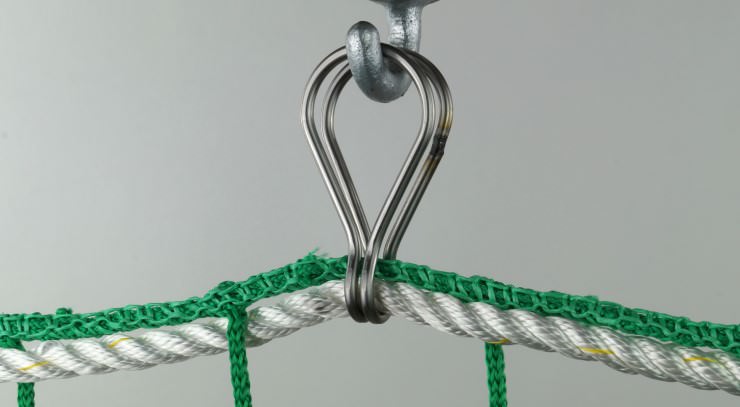
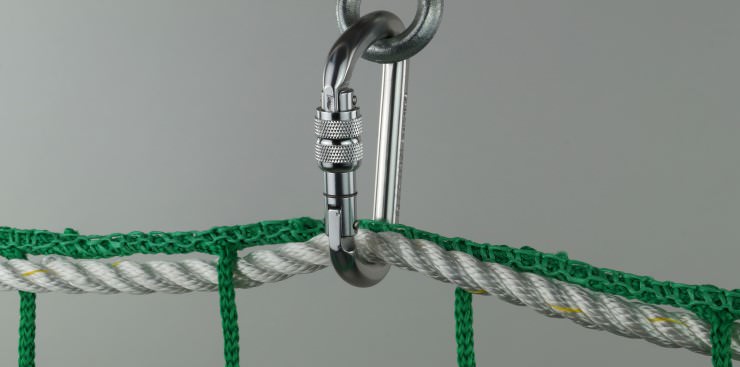
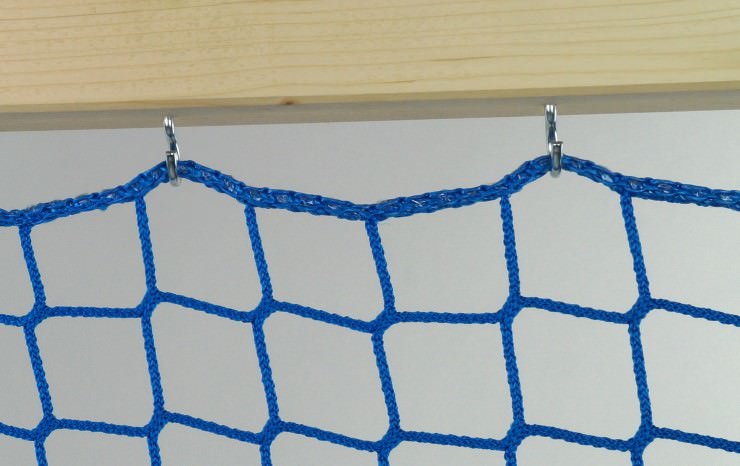
With thimble hooks you can create stable, stress-resistant anchorage points on variable points of the safety net. |
Recommended interval: 2.50 m maximum |
Suitable items: |
|
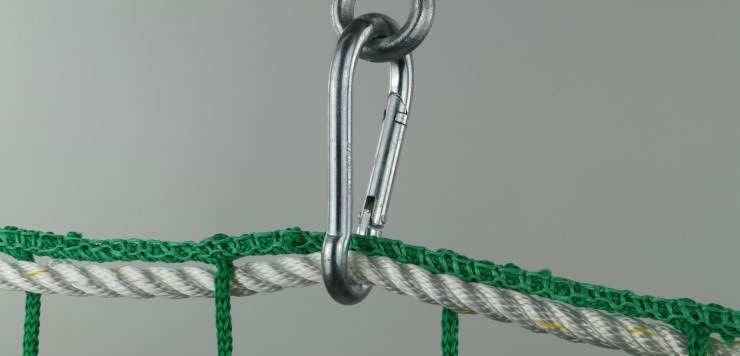
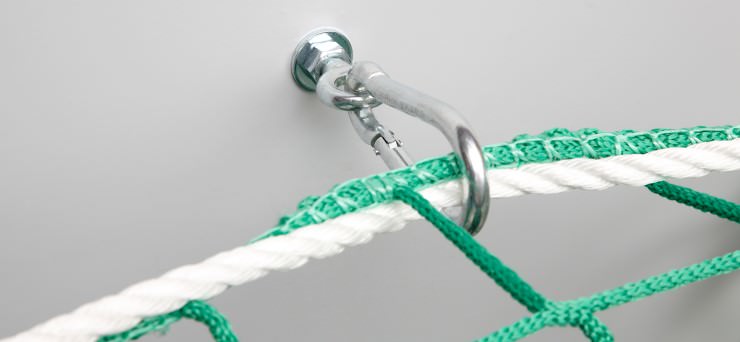
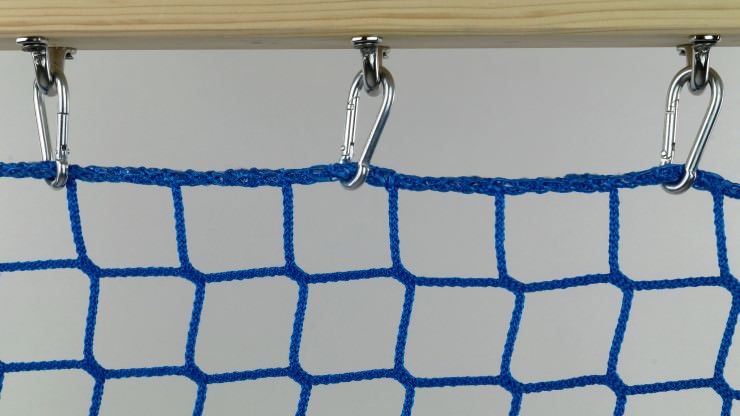
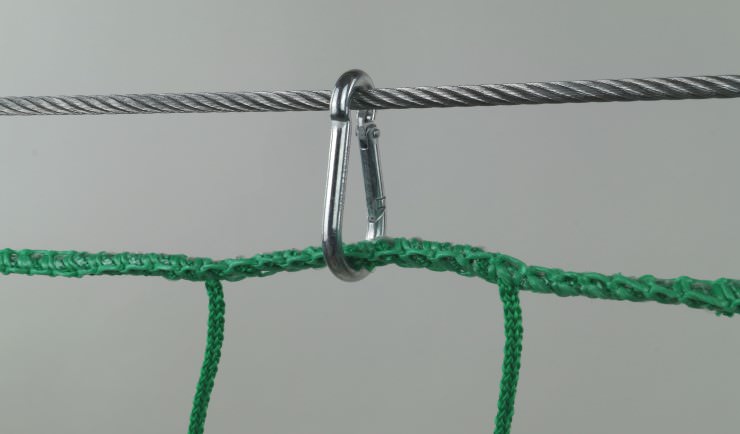
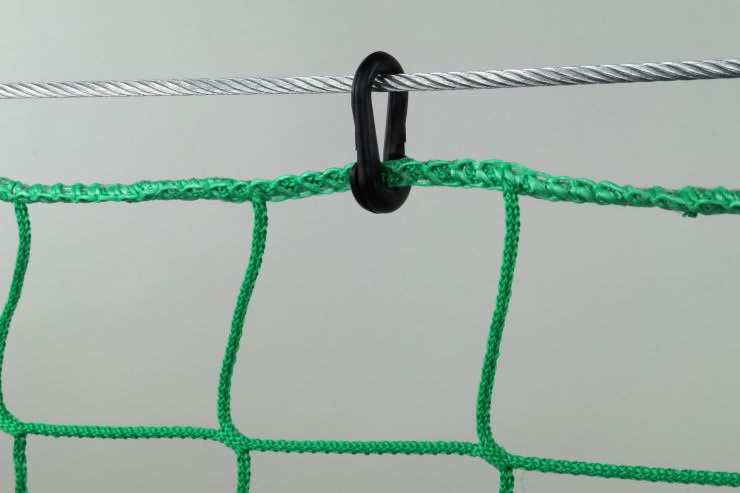
With safety snap hooks you can create stable, stress-resistant anchorage points on variable points of the safety net. |
Recommended interval: 2.50 m maximum |
Suitable items: |
|
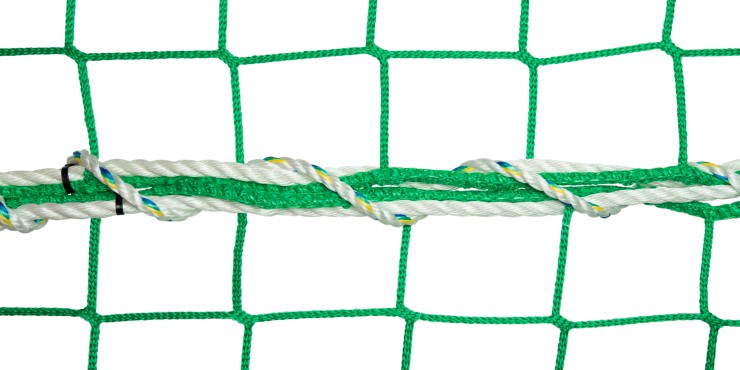
Alternatevely to a selective single strand or double strand suspension ropes can also be used for wrapping safety nets. The rope in this case should have a minimum breaking force of 30 kN. |
Recommended interval: each mesh, 10-mesh interval maximum |
Suitable items: |
|
Crossbar ropes are used for reducing net sag. The rope gets threaded through the meshs and tensioned at the border of the net. |
Suitable items: |
|
Coupling ropes are used for connecting several safety nets together to create one large area. 1.50 m of coupling rope is needed per meter of net border. |
Suitable items: |
|
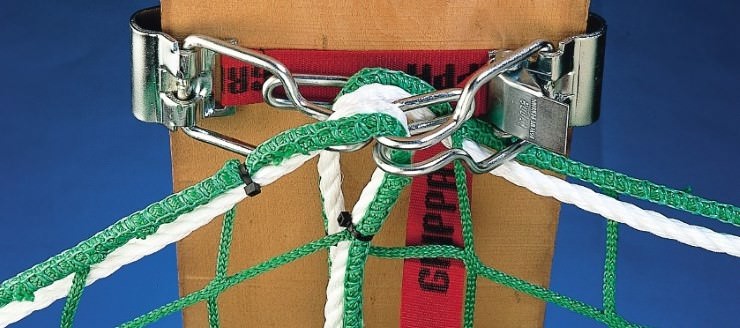
With our safety net hook "Grippa" safety nets can be mounted to the underside of T-sections. The border rope is hooked onto the hooks on the underside of the flange grip pulling in opposite directions to prevent the net from accidentally unhooking. The two flange grips enclose the T-section and are closed by pulling a belt strap with a snap fastener. |
Recommended interval: 2.50 m maximum |
Suitable items: |
|
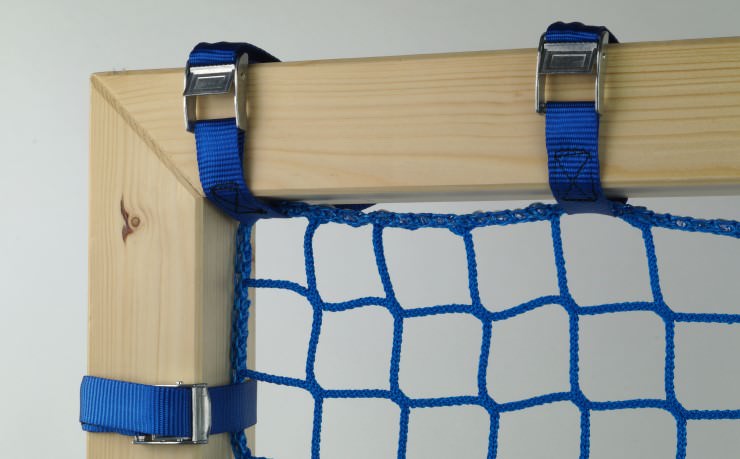
Fall safety nets can also be mounted with lashing straps on T-sections or supporting structures. With wrapping tension belts in a 2x2m-grid it is also possible to use safety nets as an accessible working platform. We will be glad to advise you on any question. You also find further information in the BG information sheet BGI 662. |
Recommended interval: 2.50 m maximum |
Suitable items: |
|
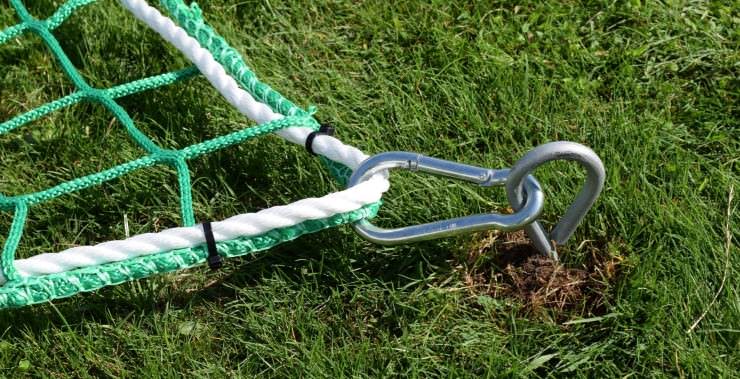
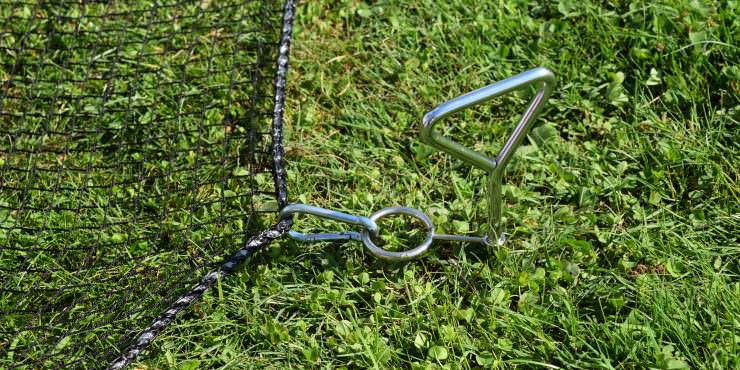
Fall safety nets can be securely mounted (T-irons or screw-in anchors) in the ground. |
Recommended interval: 2.50 m maximum |
Suitable items: |
|
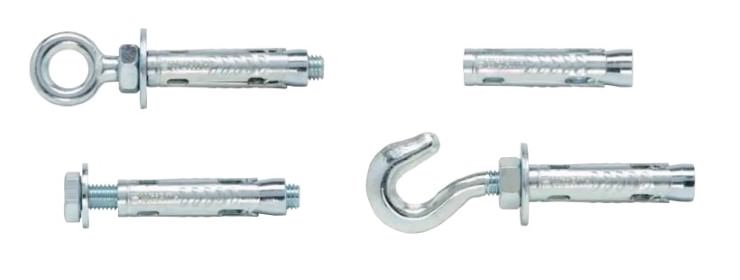
Heavy-duty anchor bolt can be used to anchor personnel safety nets in concrete surfaces. |
Recommended interval: 2.50 m maximum |
Suitable items: |
|
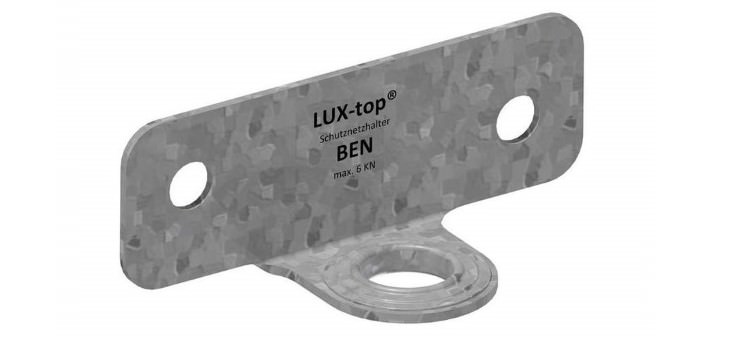
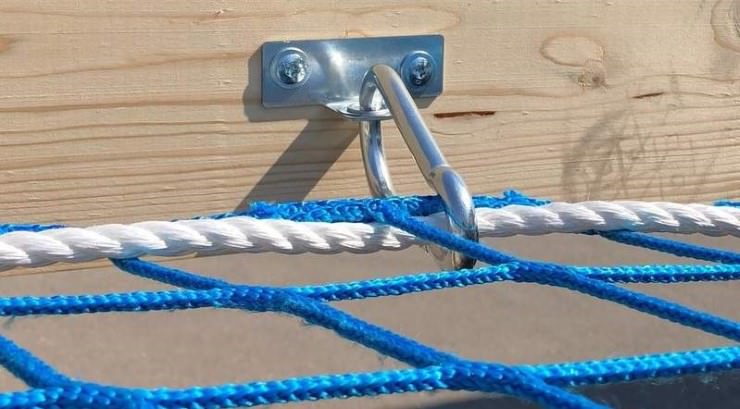
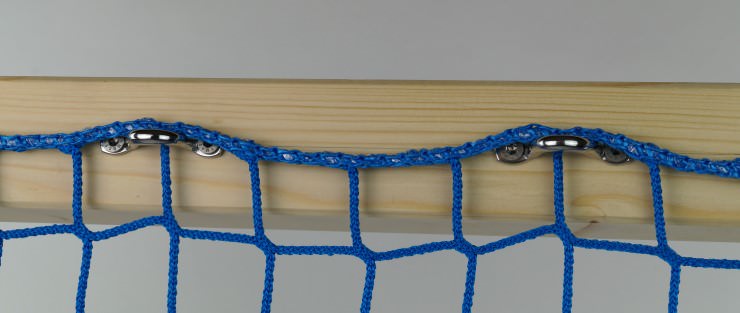
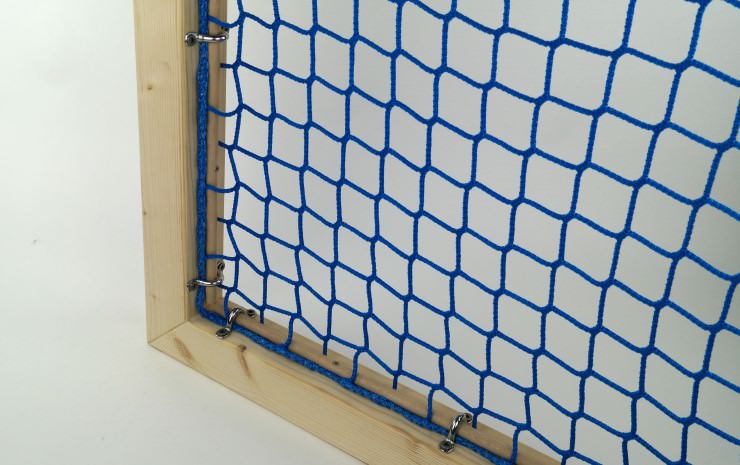
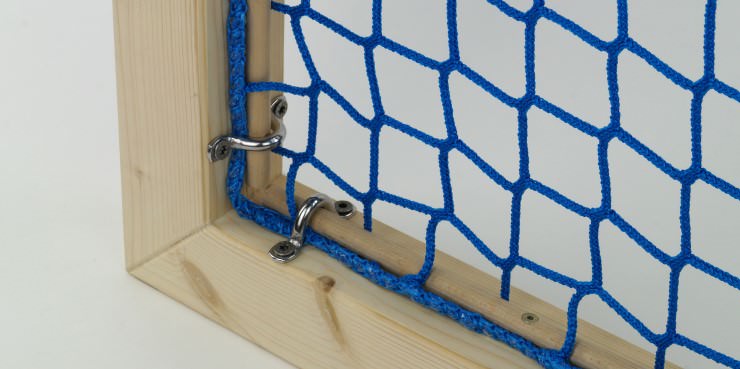
Safety net holders for wooden components can be attached to the side or underside of wooden components to create a load-bearing attachment point. Safety nets can be attached to the eyelets using safety snap hooks or ropes. |
Recommended interval: 2.50 m maximum |
Suitable items: |
2. Installation of Guardrail Nets
Guardrail nets must be anchored to the scaffolding rail with an interval of 75 cm maximum and stretched taut. You will find further information under Building-Site Safety Netting Guidelines. We recommend the followig types of mounting:
|
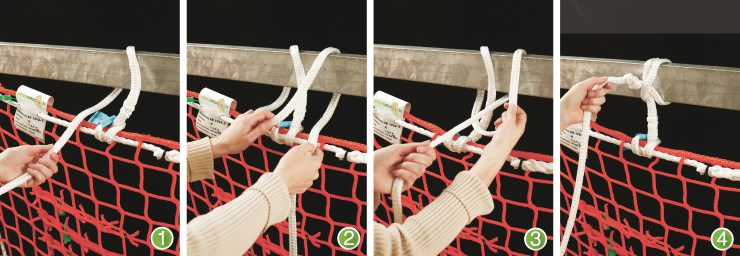
Isilink clips are an easy option for anchoring guardrail safety nets to scaffold tubes. Simply lay the long end on the scaffold tube and place the opening in the Isilink cord around the clip as a buttonhole. Rapid assembly is no problem, even with protective gloves. Fully functional even in wet, cold and dirty conditions. All standard sizes of our guardrail nets are available with clips already sewn on. |
Recommended interval: 75 cm |
Suitable items: |
|
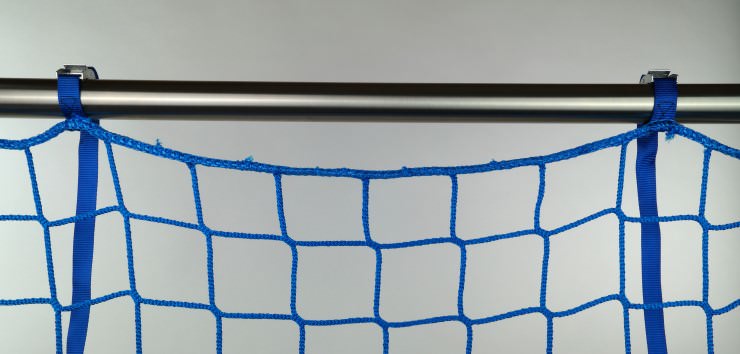
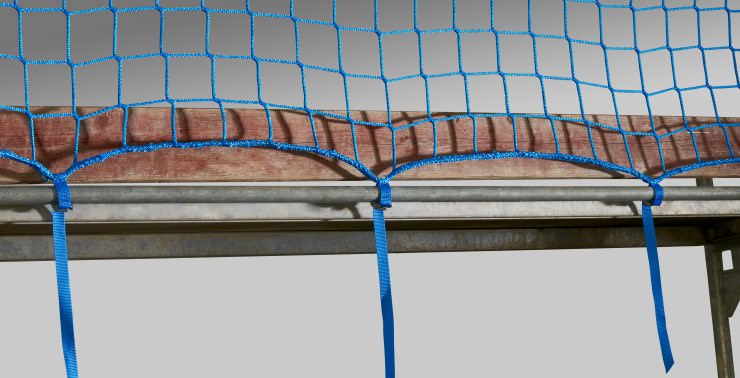
An easy installation method is to anchor the net using quick-release strap fasteners with self locking buckle. Some guardrail nets in standard sizes are available with quick-release strap fasteners already sewn on. |
Recommended interval: 75 cm |
Suitable items: |
|
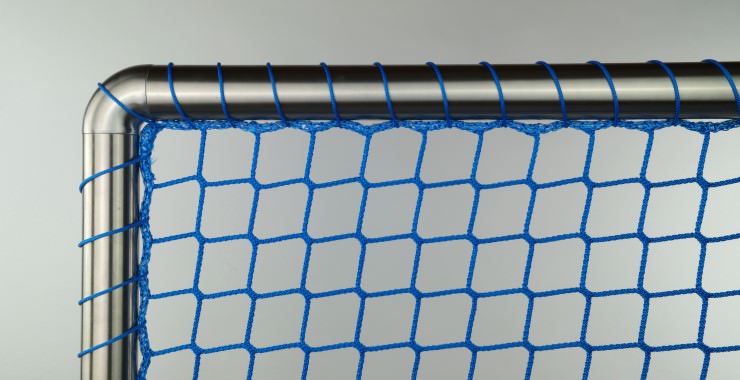
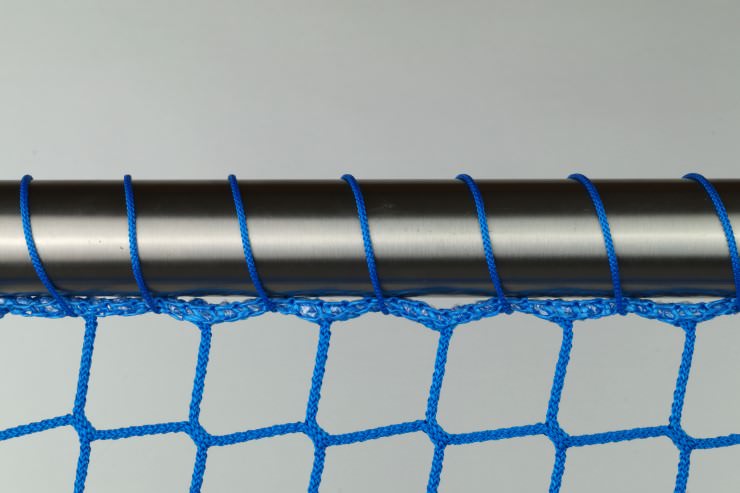
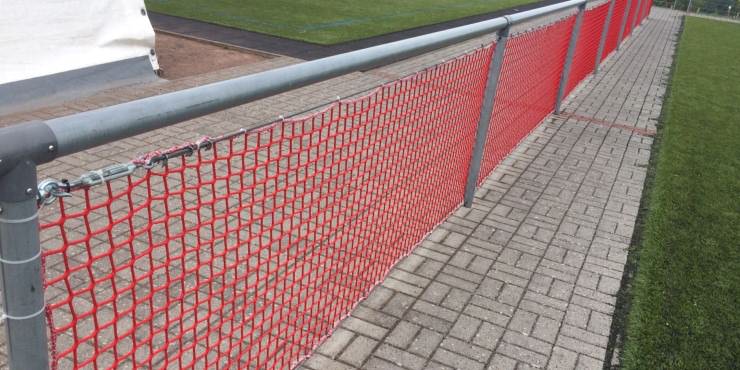
It is possible to mount the net directly on the scaffold tube. Pursuant to the DGUV rule 201-011, guardrail nets can be fastened to the supporting structure mesh by mesh. |
Recommended interval: each mesh |
3. Installation of Vertically Tensioned Nets
- Stair-rail safety nets
- Balcony safety netting
- Kindergarten safety nets
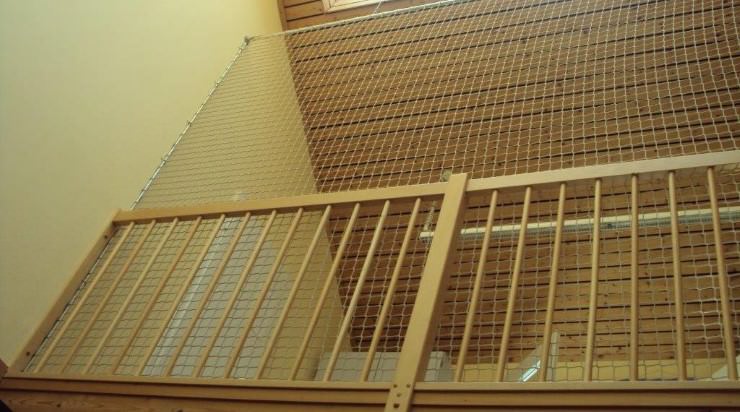
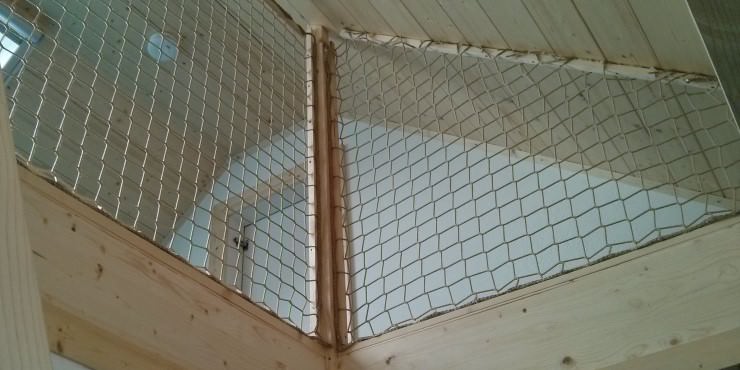
- Loft safety nets
- Play area safety nets
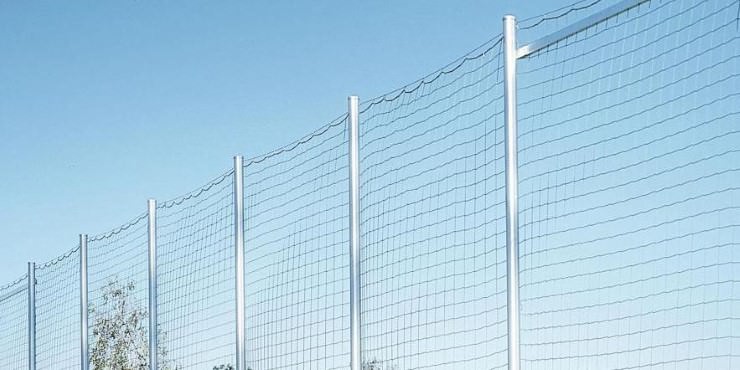
- Ball stop nets
- Pallet rack safety nets
- Anti-litter nets
Here you will find possible types of mounting vertically tensioned safety nets:
|
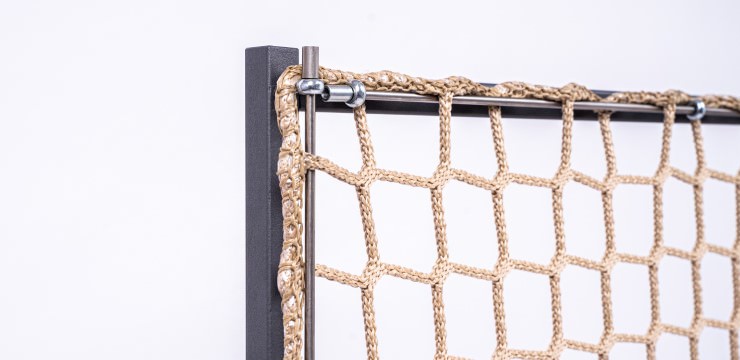
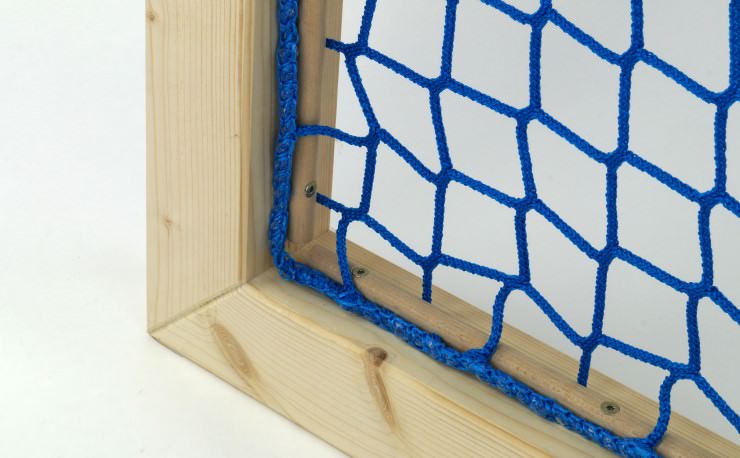
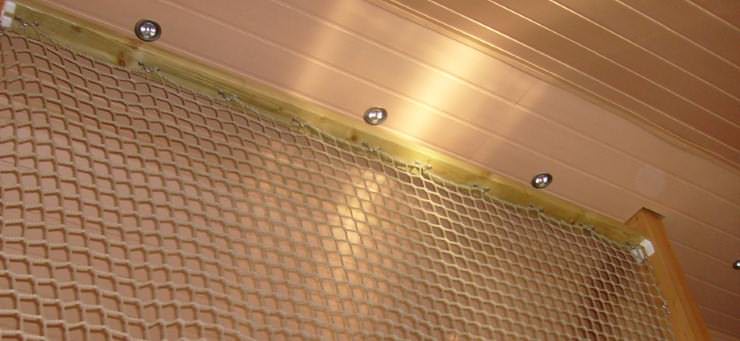
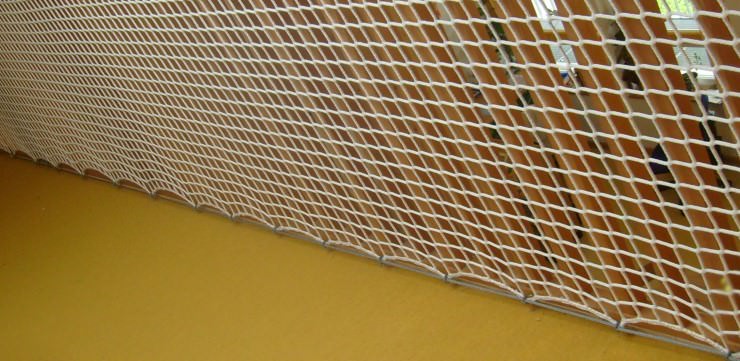
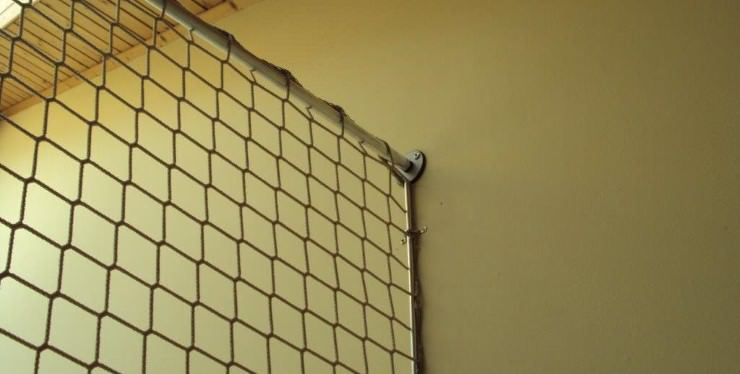
Bars or profiles (e.g. rods, wooden bars, aluminium stacks, steel bars) create a permanent and clean fixation. The bars get threaded through the net and then get screwed. Recommendend diameter of wooden bars: Ø 14 mm Tip: All bars should be threaded through the net and fixed with adhesive tape before mounting the first one. Otherwise it could be difficult or impossible to fix the last bars. |
Recommended interval: Thread through each mesh, bars can be screwed at an interval of 30 cm |
Suitable items: |
|
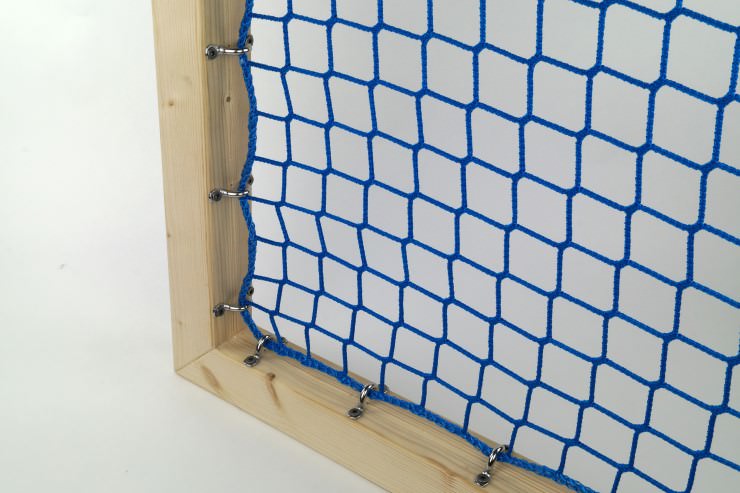
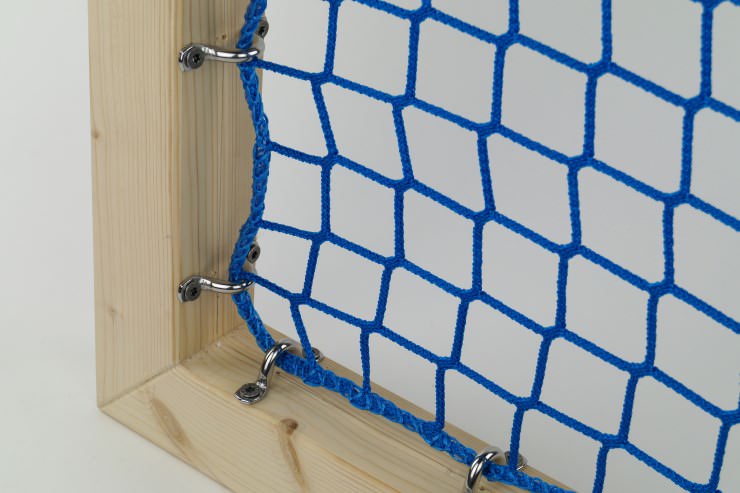
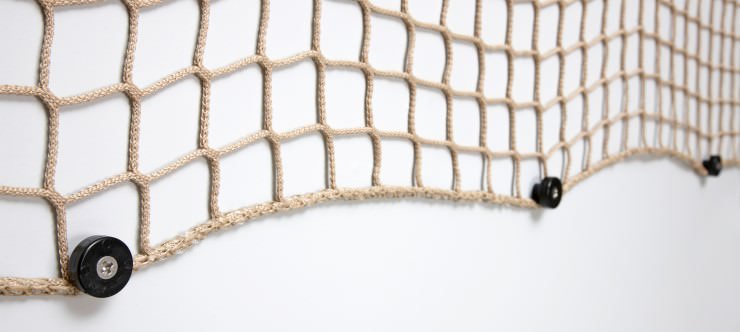
With retainer rings you will get a clean punctual fixation without sharp peaks. We recommend a combination with bars (see the point below). |
Recommended interval: 15-30 cm |
Suitable items: |
|
Bars can be combined with retainer rings. With this type of fixation you prevent wooden bars from splitting and there is no drilling through the bars required (especially metallic bars). |
Recommended interval: Thread through each mesh, bars can be hold at an interval of 30 cm |
Suitable items: |
|
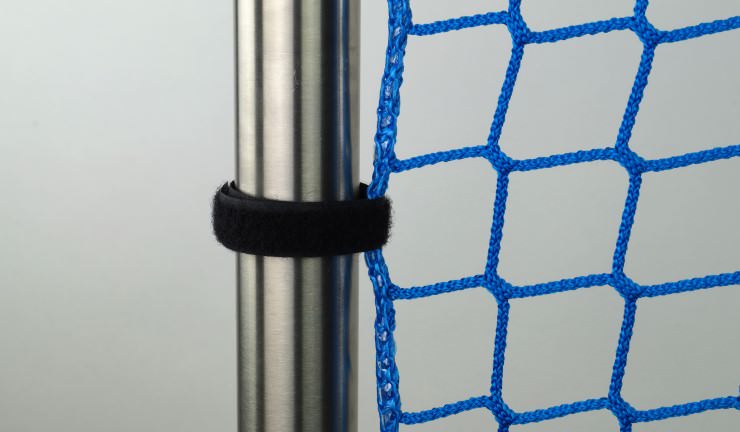
Buckle straps are an easy option of fixation, which can also be quickly released at any time. In addition to that belt straps can be removed residue-free. |
Recommended interval: 30-75 cm |
Suitable items: |
|
A popular and convenient way to mount a vertical safety net is to use simple (screw) hooks. |
Recommended interval: 15-20 cm |
|
This type of installation ist especially recommended, if the net have to be mounted fast or for a short time. |
Recommended interval: 15-20 cm |
Suitable items: |
|
Isilink is a building-site safety net mounting system. Simply lay the long end on the scaffold tube and place the opening in the Isilink cord around the clip as a buttonhole. Rapid assembly is no problem, even with protective gloves. Fully functional even in wet, cold and dirty conditions. |
Recommended interval: 15-75 cm |
Suitable items: |
|
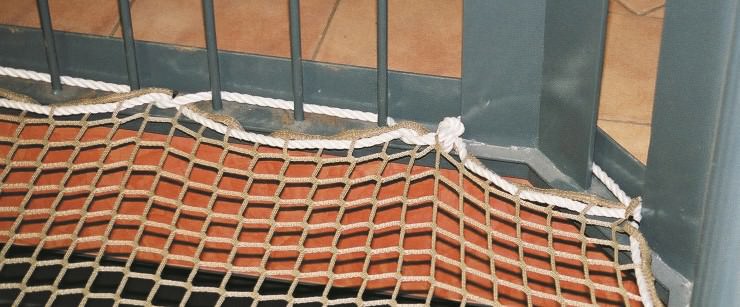
Ropes and cords are used if there is no desire to drill or machine the supporting structure. It is also possible to reach a permanent fixation. 2-3 meter of coupling rope is needed per meter of net border. Tip: Retighten and fix the cord after each meter to hold the strain. |
Recommended interval: mesh by mesh |
Suitable items: |
|
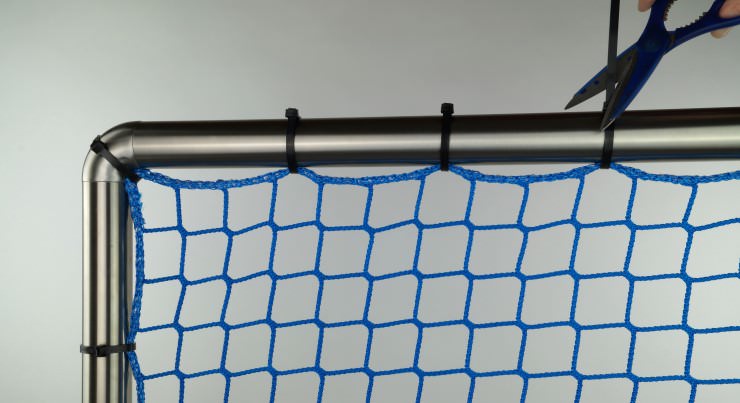
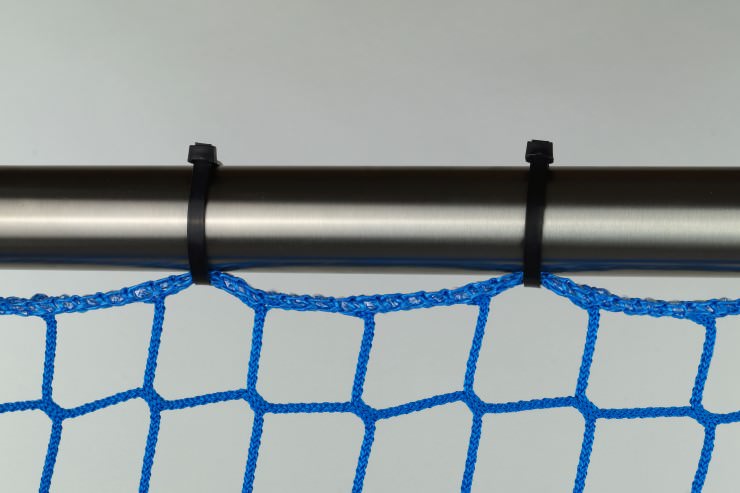
The use of cable straps is a low-cost type of installation. Depending on how many straps are used it is possible to reach a constant fixation. They also can be removed residue-free. It is important to sue straps with an adequate breaking force. Tip: Cut off the protrucing ends after assembly. |
Recommended interval: 5-20 cm |
Suitable items: |
|
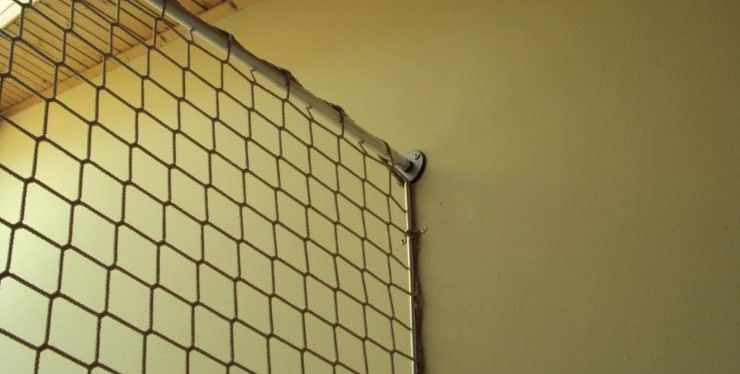
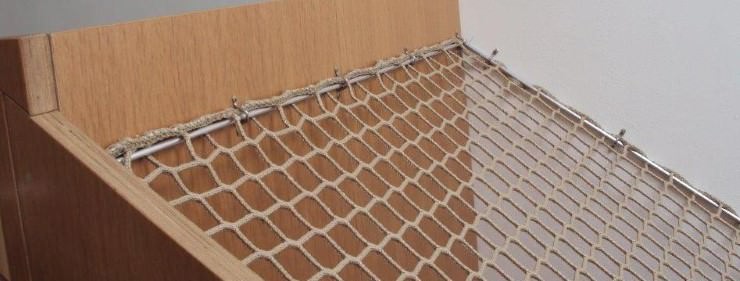
Steel cables allow a dimensionally stable and permanent fixation of nets. They are used especially to bridge a gap between two anchoring points (e.g. ball stop netting, pallet rack safety nets or between two walls). If a net is hung-up like a curtain it can be moved by sliding it to one side. |
Recommended interval: mesh by mesh |
Suitable items: |
|
Telescope bars are used to bridge a gap between two anchoring points. |
Recommended interval: each mesh |
|
Velcro® strips are suitable for nets that need to be hung up and taken down quickly and also need to be removed residue-free. Caution: Not suitable for personnel safety nets! |
Recommended interval: 15-30 cm |
Suitable items: |
4. Installation of Cover Nets
- Trailer cover nets
- Container cover nets
- Sandbox cover nets
Here you will find diffent types of mounting covering nets.
|
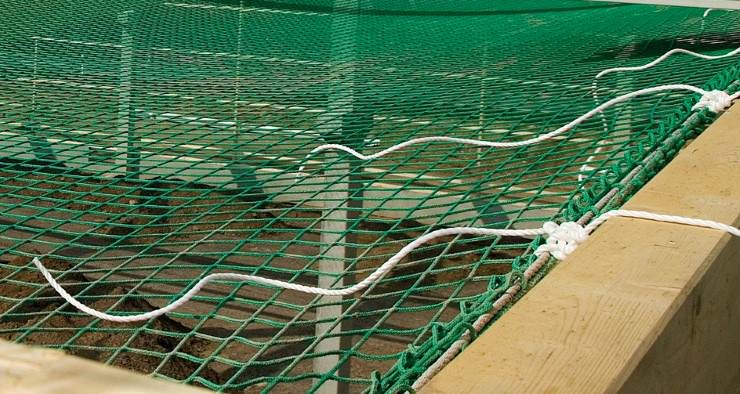
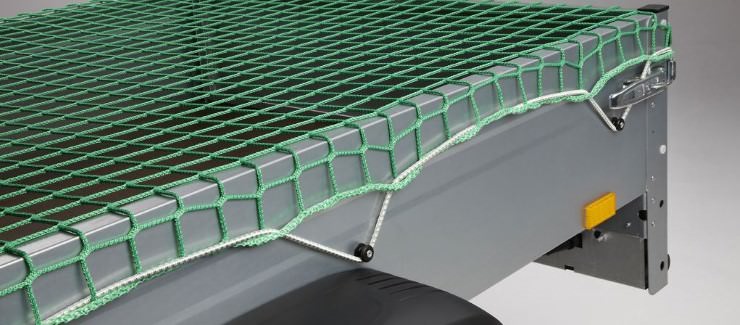
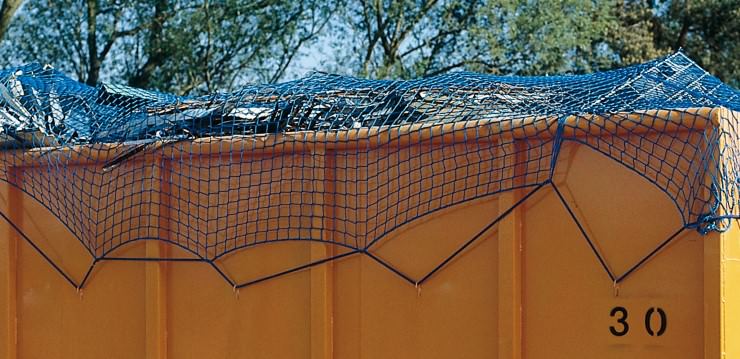
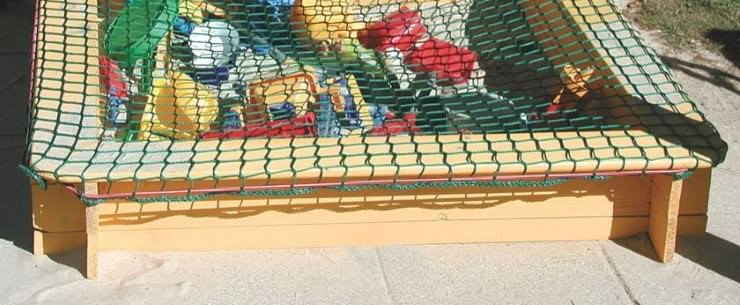
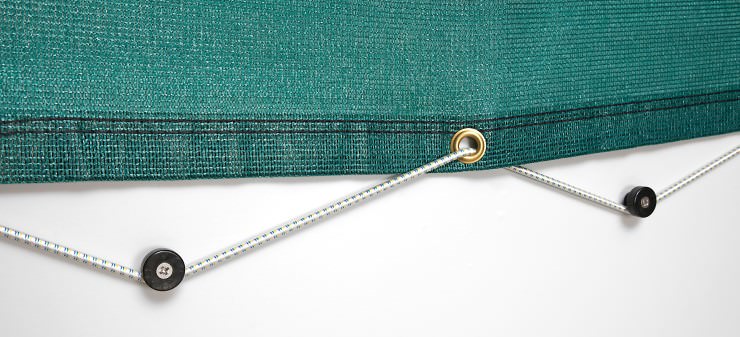
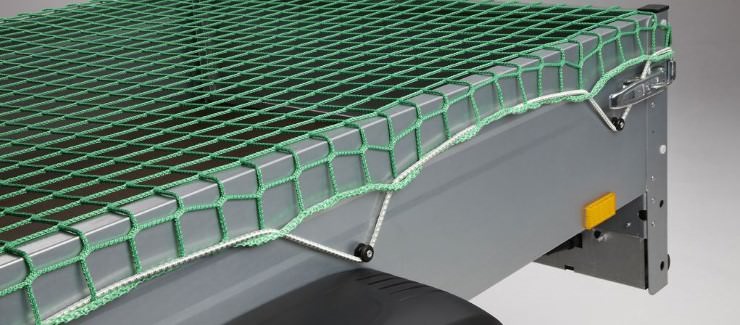
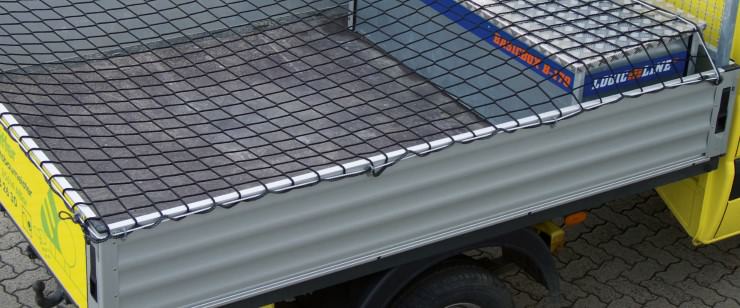
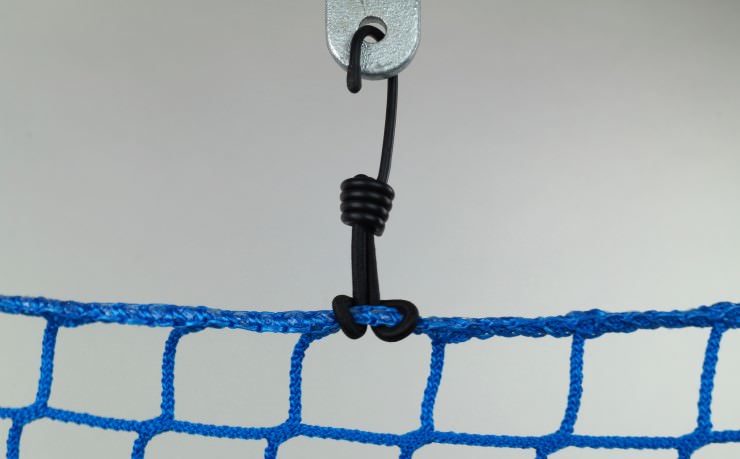
Shock cord are used for guying safety nets and tarpaulins over box-shaped containers (sand pits, trailers, cargo containers, etc.). They can be stretched over the container edges or to existing anchorage points. |
Recommended interval: each mesh |
Suitable items: |
|
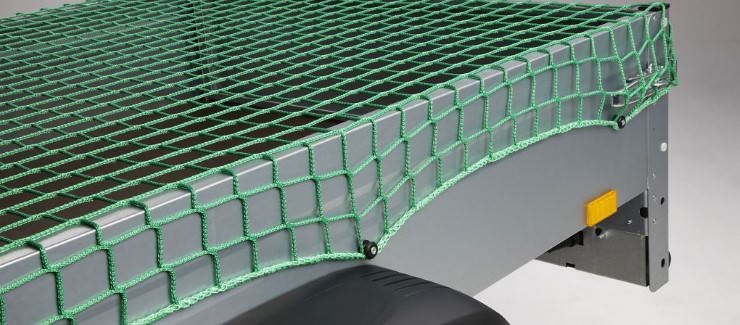
Screwed plastic knobs facilitate the hooking in of safety nets or as an attachment point for tensioning ropes. They usually have no sharp edges. |
Recommended interval: 50 cm |
Suitable items: |
|
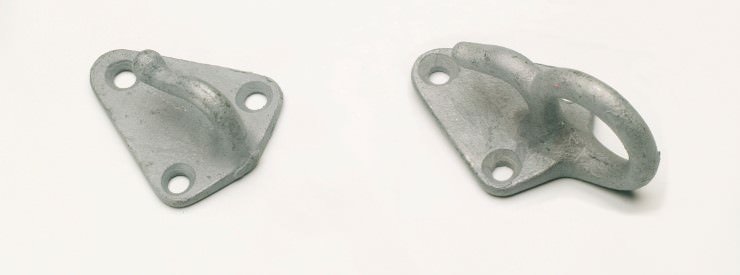
Simple screw hooks can be used to fix a cover net. They are used especially at trailers or cargo containers. |
Recommended interval: 30-50 cm |
Suitable items: |
|
Span loops are suitable for quickly anchoring covering and cargo securing nets. The hook is simply pulled through the loop and then affixed to the net or tarpaulin. |
Recommended interval: 15-50 cm |
Suitable items: |
|
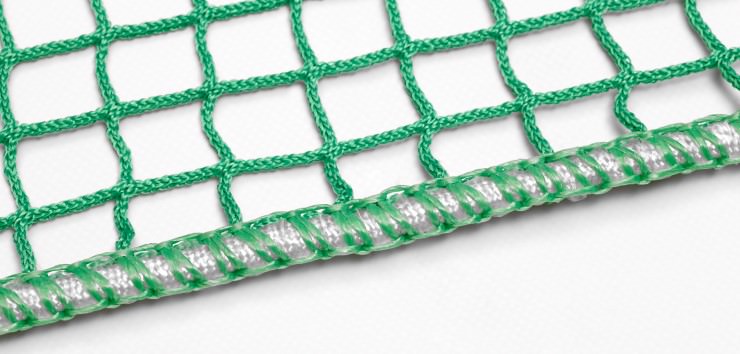
Nets and sheets with a lead cord can be placed without any other utilities. It will be fixed by its own weight. |
Recommended interval: all around |
Suitable items: |
5. Installation of Animal Protection Nets and Leaf Netting
- Cat safety nets
- Aviary nets
- Bird protection netting
- Leaf netting
|
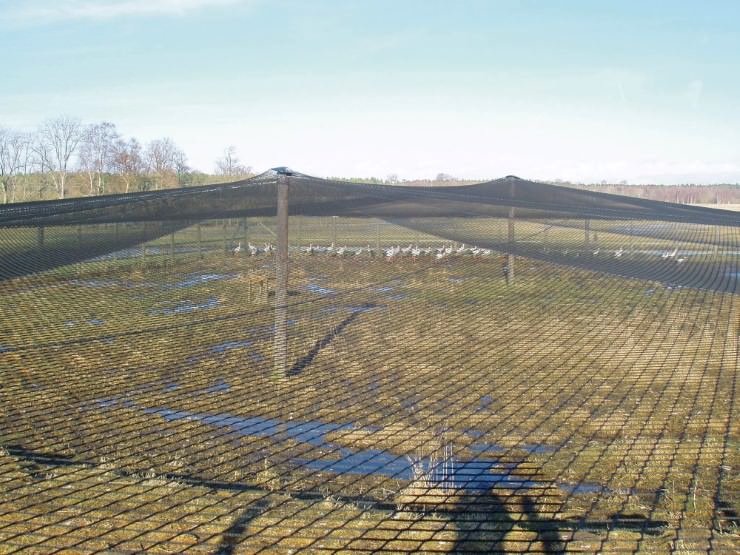
Ropes and cords are used if there is no desire to drill or machine the supporting structure. It is also possible to reach a permanent fixation. 2-3 meter of coupling rope is needed per meter of net border. Tip: Retighten and fix the cord after each meter to hold the strain. |
Recommended interval: mesh by mesh |
Suitable items: |
|
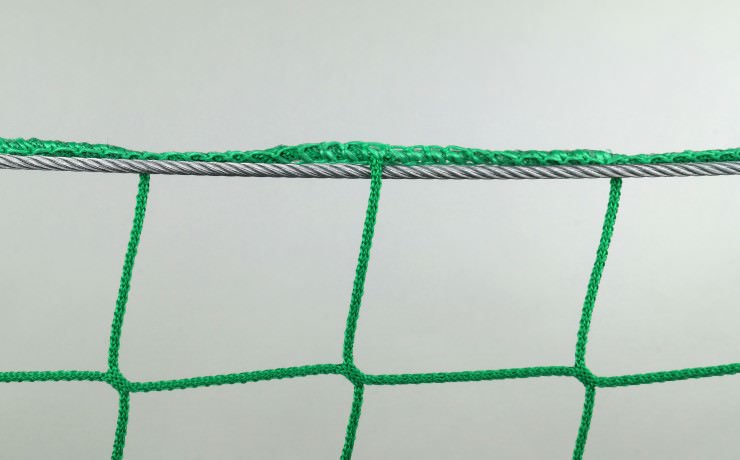
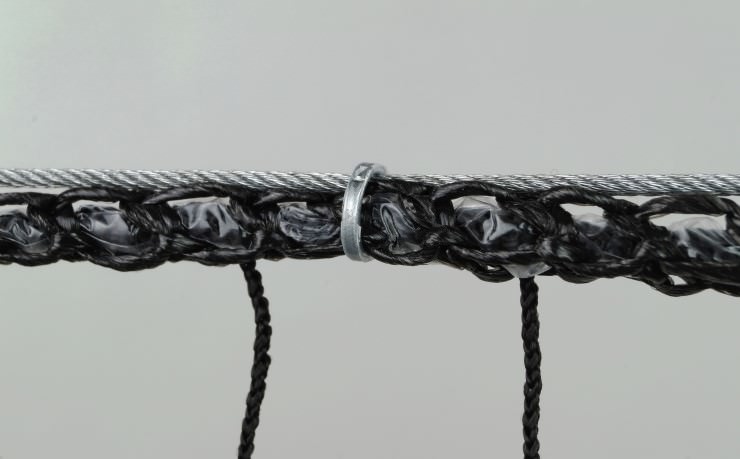
Steel cables allow a dimensionally stable and permanent fixation of nets. They are used especially to bridge a gap between two anchoring points. If a net is hung-up like a curtain it can be moved by sliding it to one side. |
Recommended interval: mesh by mesh |
Suitable items: |
|
The use of cable straps is a low-cost type of installation. Depending on how many straps are used it is possible to reach a constant fixation. They also can be removed residue-free. It is important to sue straps with an adequate breaking force. Tip: Cut off the protrucing ends after assembly. |
Recommended interval: 5-20 cm |
Suitable items: |
|
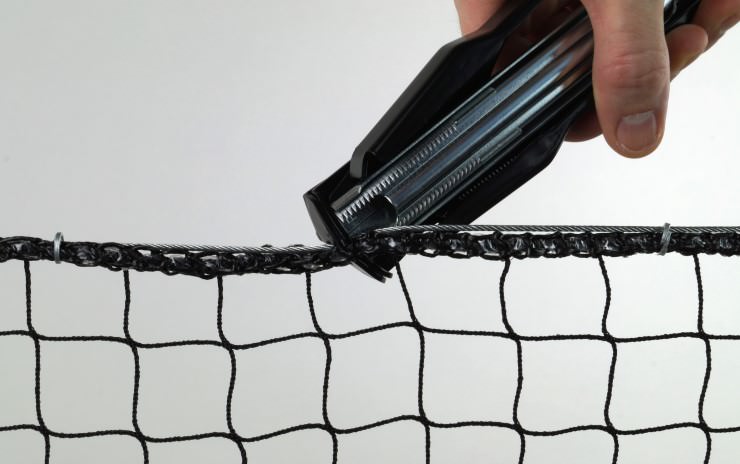
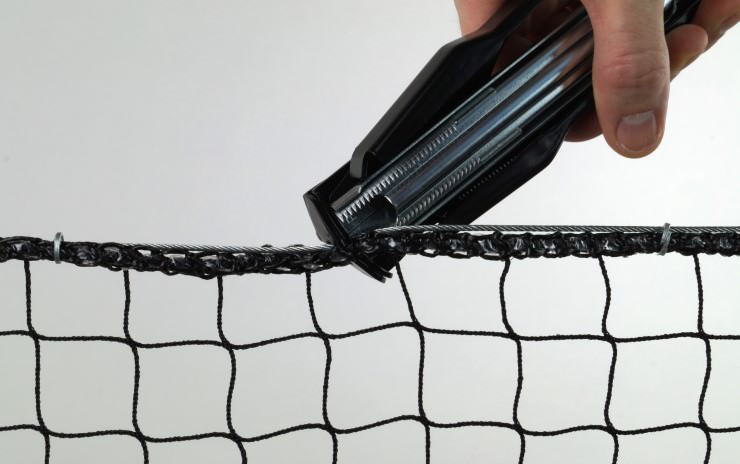
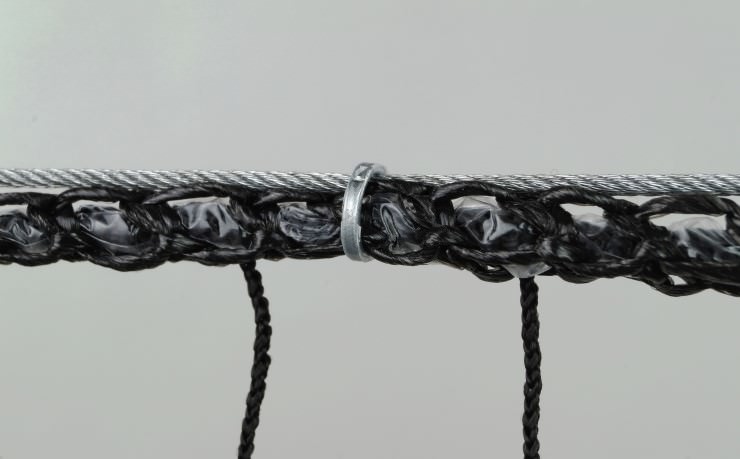
Ring staples enable fast, efficient connections. The staples are automatically replenished, allowing you to work easily and without any interruptions. Suitable for net assembly, connecting multiple nets together or to repair broken meshes. |
Recommended interval: 5-20 cm |
Suitable items: |
|
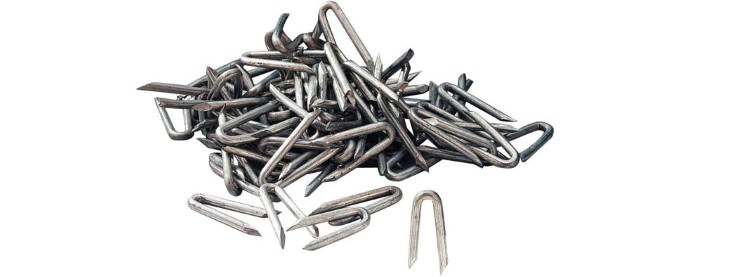
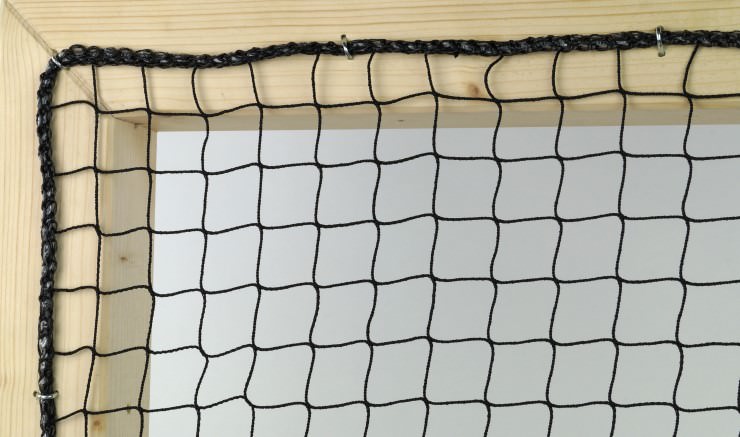
Usual stables are suitable for a clean fixation of nets on wooden surfaces. |
Recommended interval: 5-15 cm |
|
With simple ground anchors or usual pegs light netting can be anchored to the ground easily. |
Recommended interval: 50-250 cm |
Suitable items: |
|
Bars or profiles (e.g. rods, wooden bars, aluminium stacks, steel bars) create a permanent and clean fixation. The bars get threaded through the net and then get screwed. Recommendend diameter of wooden bars: Ø 14 mm Tip: All bars should be threaded through the net and fixed with adhesive tape before mounting the first one. Otherwise it could be difficult or impossible to fix the last bars. |
Recommended interval: Thread through each mesh, bars can be screwed at an interval of 30 cm |
Suitable items: |
modified eCommerce Shopsoftware © 2009-2026
Code & Implementation: Rehm Webdesign


